
Products
Solutions
Resources
9977 N 90th Street, Suite 250 Scottsdale, AZ 85258 | 1-800-637-7496
© 2024 InEight, Inc. All Rights Reserved | Privacy Statement | Terms of Service | Cookie Policy | Do not sell/share my information

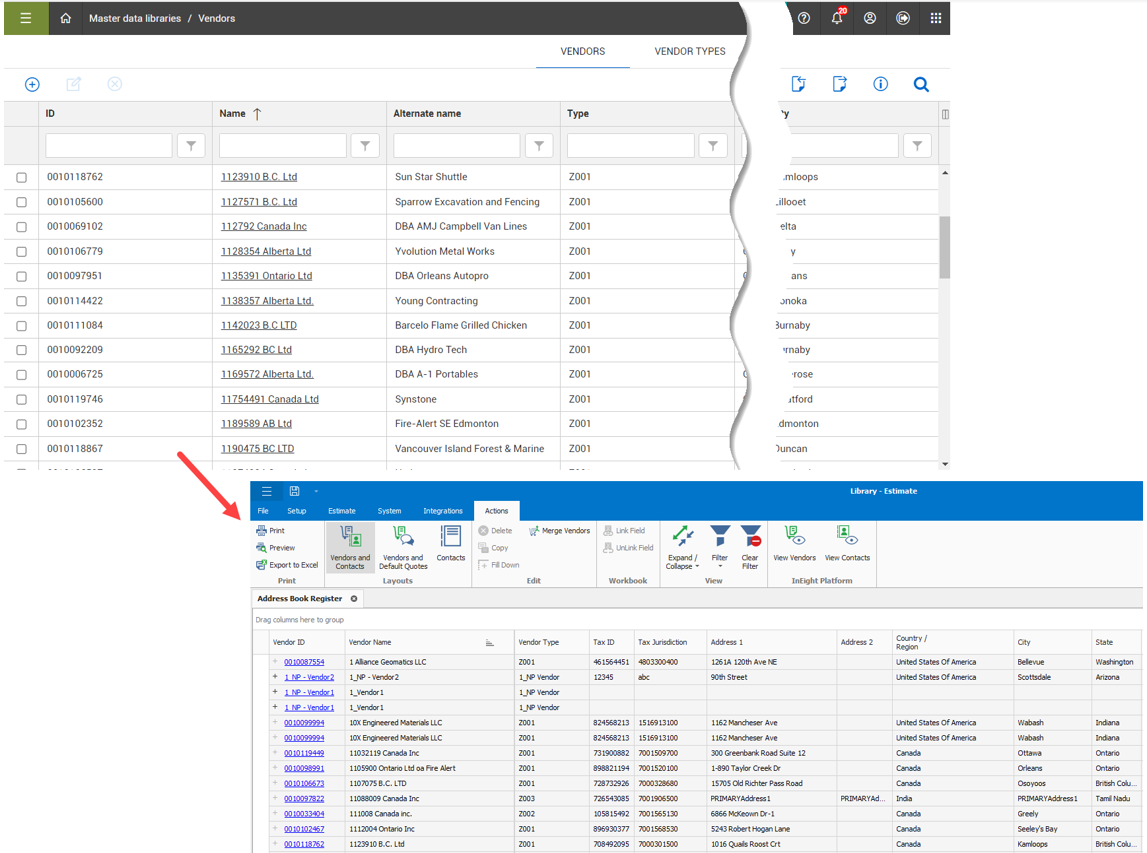
Estimate's vendor and contact information in the address book register integrate with InEight Platform's vendor and contact master data libraries.
Vendors and contacts are created and maintained in Platform's master data library as a single source repository of vendor and contact data.
The vendor and contact data structure shows a new hierarchy where multiple contacts can be assigned to one vendor.
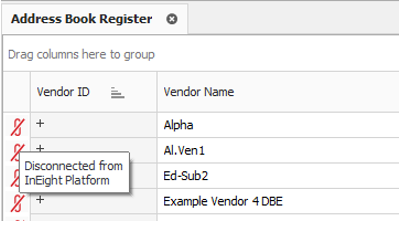
Upon upgrading to version 23.6, address book records show a combined list of both pre-existing Estimate Address Book records and Platform vendors and contacts. Pre-existing Estimate Address Book records are still editable, but Platform records are not. The pre-existing disconnected vendors and contacts show a red glyph to the left of the Vendor ID column which shows that these records are disconnected from Platform.
The existing contact records also have a vendor record associated with it. New vendors and contacts must be added via Platform, and changes to any Platform originated records must be modified in Platform. This promotes the use of Platform as the single source of creation and maintenance for vendor master data.
Certain vendor affiliated qualification information required for estimating purposes such as licensed, bonded and insured data, or minority participation, is maintained directly in Estimate only rather than in Platform.
There can be other Estimate vendor and contact data that only exist in Estimate and not in Platform, such as License, Bond, Insurance and Minority Certifications, and Default Quotes.
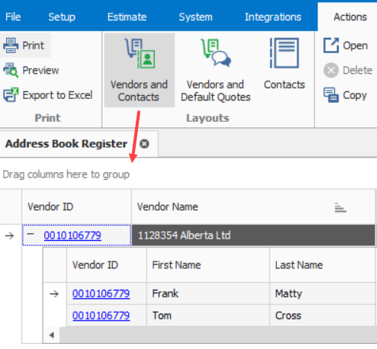
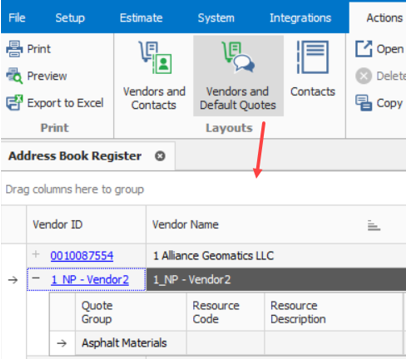
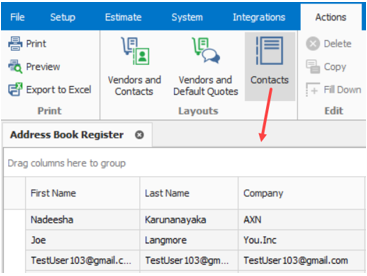
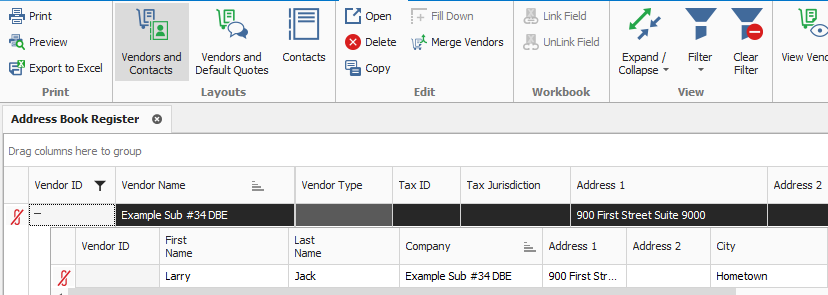
You can choose between three address book page arrangements, vendors and contacts, vendors and default quotes, and contacts.

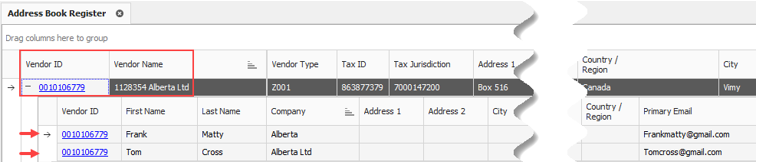
Vendors and Contacts are arranged where the vendor is the primary record in the register, and the contacts associated with the vendor are shown as secondary detail records.
Vendors and default quotes are arranged where the vendor is the primary record in the register, and the default quote group assignments for the vendor are shown as secondary detail records.
Contacts are arranged where the contacts are shown in a flat list and are not secondary detail records under the Vendor. This layout can be used to search more easily for contacts regardless of their vendor assignment.
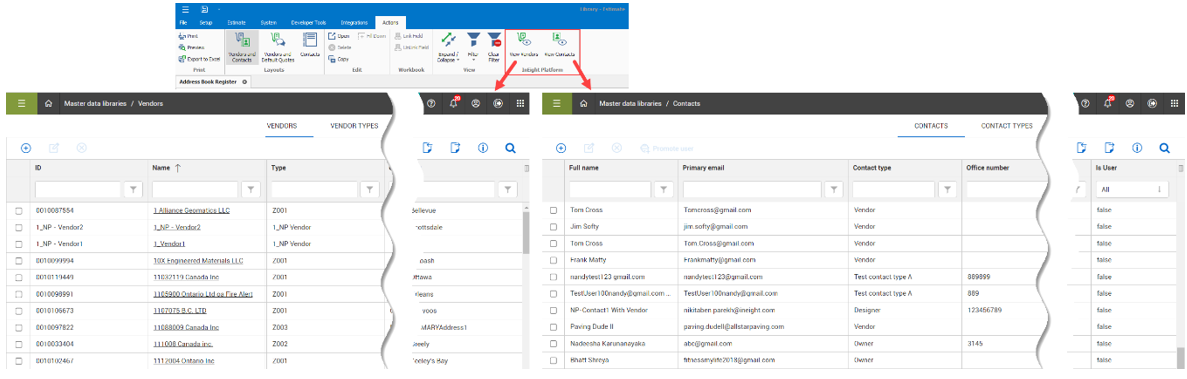
Select View Vendors or View Contacts to open a new InEight Platform master data vendors and contacts browser.
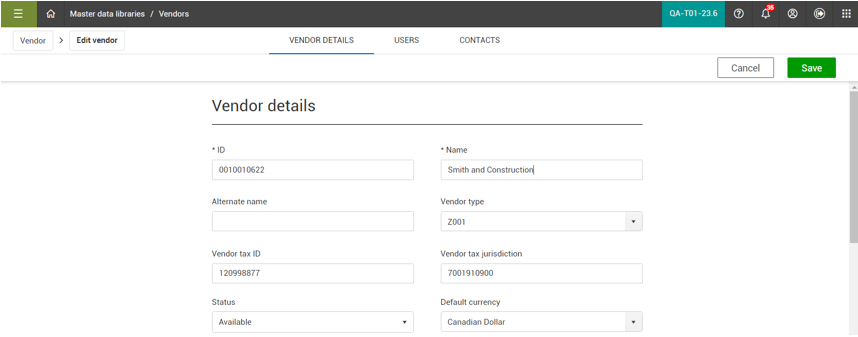
To view or edit a vendor, click the Vendor ID. The Platform Edit vendor > Vendor Details page opens.
You can quickly create ad hoc vendors and contacts via the Quote Register and Record forms.
After you receive vendor quotes and you are ready to enter quote information, it can be an optimal moment to create new vendors and contacts if they are not currently in the Address Book. Creating vendors and contacts on the fly while the vendor quote information is readily available, and then entering the quote information is more expedient than leaving the quote to create the vendor and contact in Platform. This is especially useful when you have multiple new vendor quotes.
You can create vendors and contacts on the fly in both the Quote Register > Address Book Register Library and directly from the Quote record.

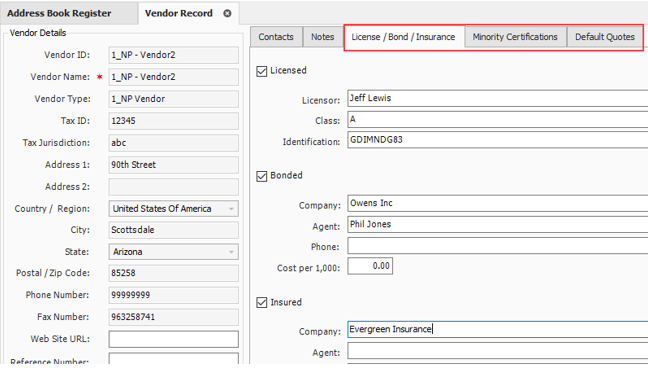
For example, when you are in a quote record and need to quickly create a new vendor because the vendor you received a quote from does not yet exist, you can select the Vendor Quick Add button, and then enter in the vendor details in the Vendor Record – Library form.

You can also add additional qualification information in the License/Bond/Insurance and Minority Certifications tabs.

The additional qualification information is added and maintained in Estimate and cannot be added to the vendor record when creating vendors directly in Platform.
After the vendor is created, it is included in the Library Address Book and can be chosen as a vendor to be used on a quote.

If you have a new contact to add, you can select the Contact Quick Add button, and then enter the contact information.

After the contact is created, it becomes associated with the newly created vendor in the Library Address Book.

The vendor and contact information are stored in Platform where it can be easily accessed by selecting one of the vendor ID links in the Library Address Book. The vendor can also be used by other Platform applications.

You can manage and retain all vendor information in the Estimate Address Book that are not linked (disconnected) with Platform, including contacts and companies that are referenced in multiple estimates, quotes and RFQs.
Disconnected Vendors and Contacts can be merged with existing Platform vendors and contacts, or they can be uploaded to create new Platform vendors and contacts by navigating to the Library > Setup > Address Book. You can also upload new Estimate vendors and contacts into Platform's master data repository.
Estimate's process of uploading contacts and vendors into Platform's master data library (as a means for all InEight products to access as a source system of contact and vendor data) not only lets you send this information to Platform, but it provides you with a mechanism to clean up and simplify existing Estimate Address Book data. For example, your current Estimate Address Book might contain many duplicate contacts containing the same first and last name, but with different addresses, emails, or mobile numbers. Merging these records helps administer customer data better so that you can eventually only maintain a single contact or vendor that has the most up to date and most accurate information.
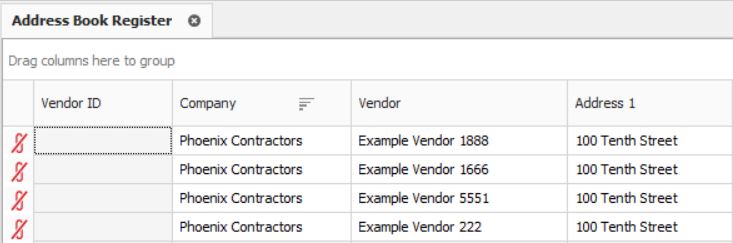
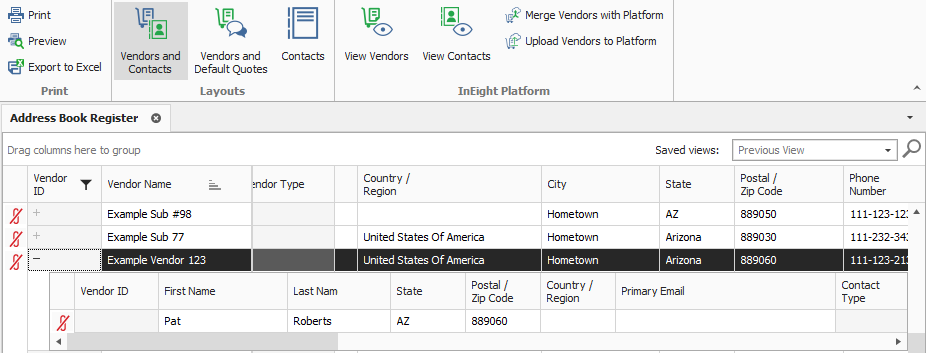
Pre-existing Estimate vendors and contacts that are disconnected from Platform show a red glyph to the left of the Vendor ID column, and only exist in Estimate at this time. To only show the disconnected records, click the column filter in the Vendor ID column, and then select (Blanks). You can either delete the disconnected records or choose to merge or upload them into Platform.
Showing only the disconnected vendors or contacts helps you see the vendors and contacts that are not connected with Platform.
![]()
All new library address book records must be created in Platform.
Vendor and contact ID's that show a blank do not currently have an associated Platform vendor association, as these vendors were originally created in Estimate. These vendors have not been merged into Platform, and therefore have no association with the vendor master data that resides in Platform.
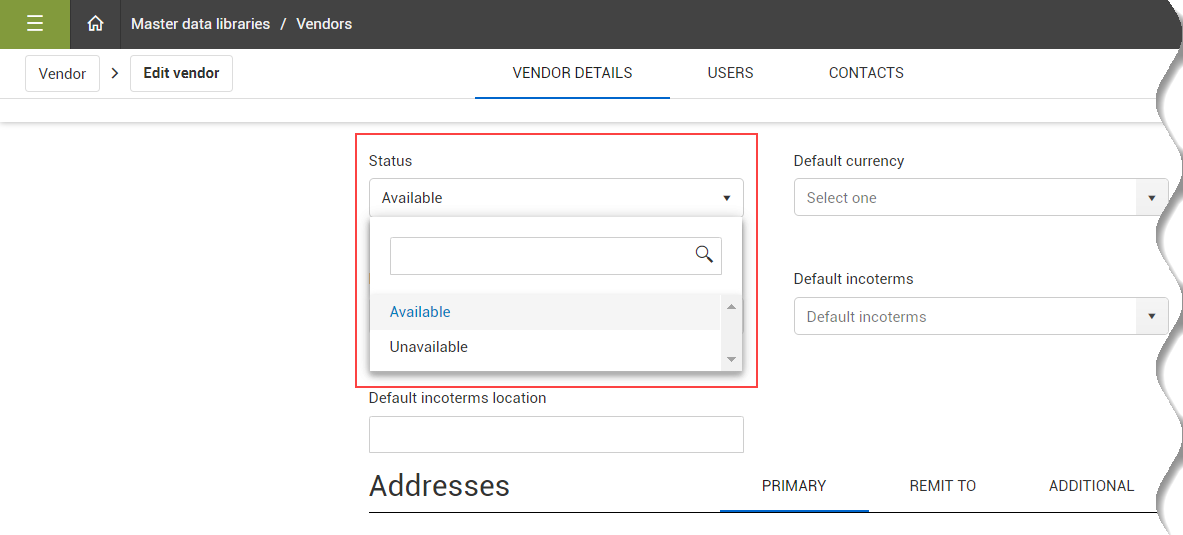
You can mark a vendor as Do Not Use in a contact record, which indicates the status of the contacts associated vendor, and can only be set in Estimate when vendors are disconnected from Platform. The record changes to red to signify it is inactive and cannot be used, but is not deleted from the system.
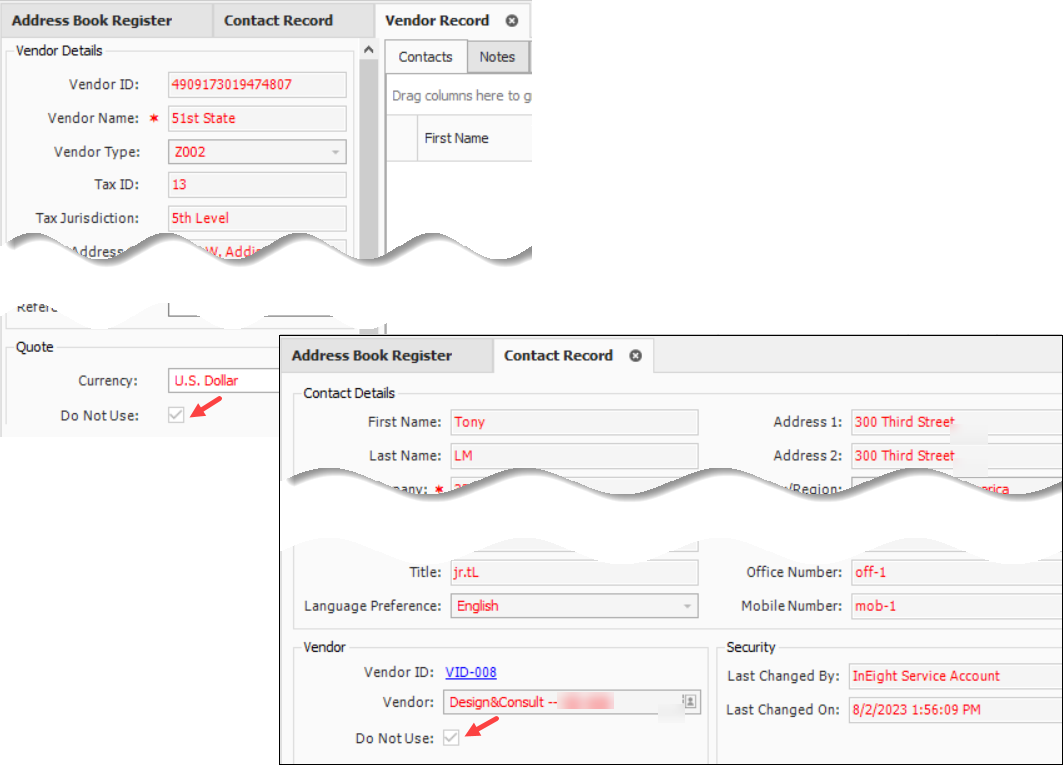
To change the Do Not Use status, select the Vendor ID Platform link for the vendor record in Estimate. In Platform, the Do Not Use flag can be maintained by selecting the Status field in Master Data Libraries > Vendors, and automatically integrates with Estimate.
Choose one connected and disconnected vendor, then select Merge Vendors with Platform.
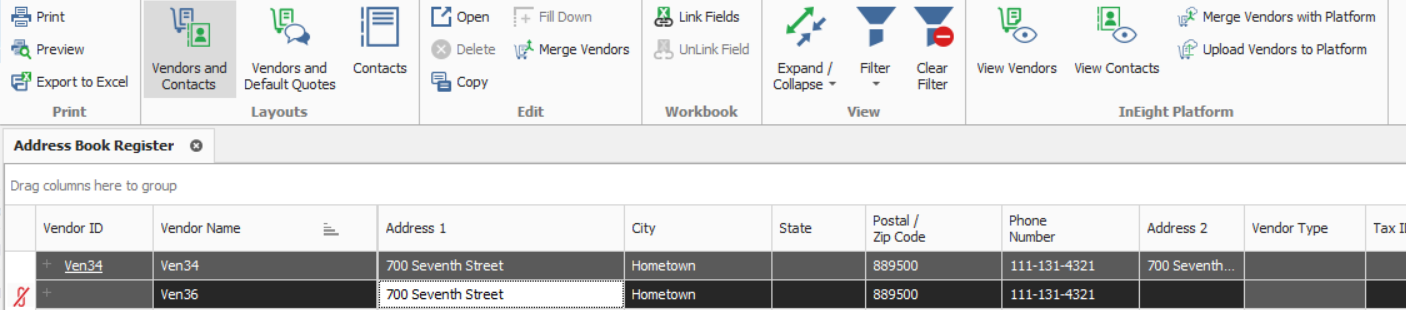
Select Merge.

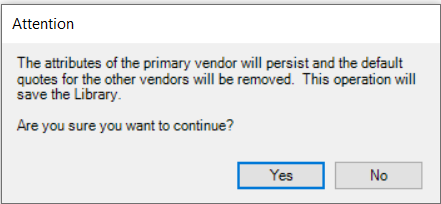
Select Yes in the Attention dialogue box to acknowledge that the attributes of the primary contact will exist.
Choose a disconnected vendor with an associated contact, and then select Upload Vendors to Platform.
Click the + symbol to the left of the Vendor ID to expand all the records. Select Upload to sync the vendor shown with the contact in this window to Platform.
The preview dialog box opens.
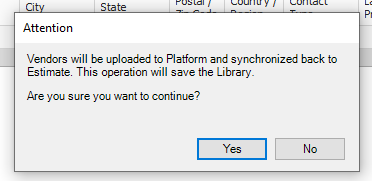
Select Yes in the Attention dialogue box to confirm that the vendor will be uploaded to Platform and synchronized back to the Estimate Address Book library.
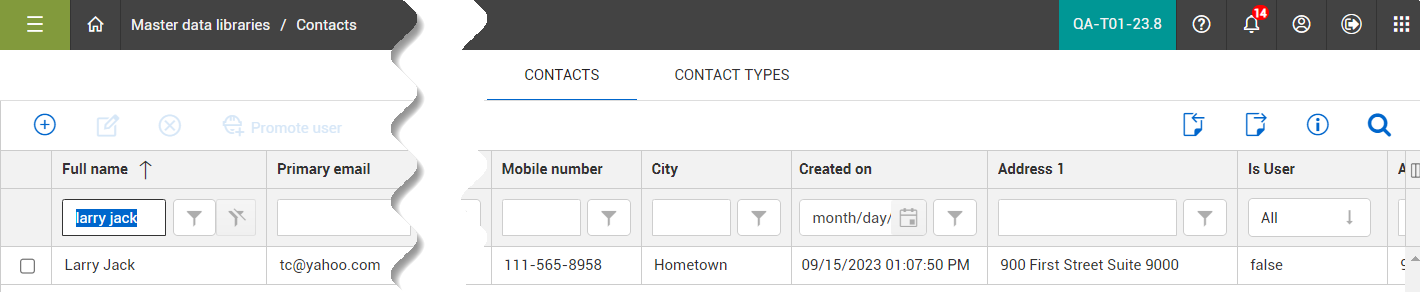
Choose one connected and one disconnected contact, and then select Merge Contacts with Platform.

Prior to the merge, note that the connected Estimate contact previously exists in Platform, prior to the merge of the two contact records.
Select Merge.

Notice that the primary contact is checked, as this record already exists in Platform.
Other records where the Primary field is not checked are records to merge into the primary record.
Fields in yellow for the non-primary records are deltas. These deltas will not be merged, and differences will be lost after they are merged, as the data that exists in Platform takes precedence. If you want any of the disconnected data to exist in Platform, you need to manually change the data in Platform. The advantage for this is to allow for the disconnected Estimate contact to become associated with an already existing Platform contact, which lets the contact to still be keyed in areas it was used in Estimate, such as in Quotes and RFQs.
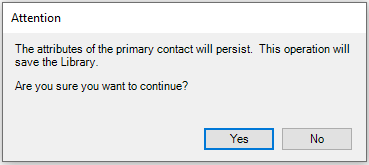
Select Yes in the Attention dialogue box to acknowledge that the attributes of the primary contact will exist.
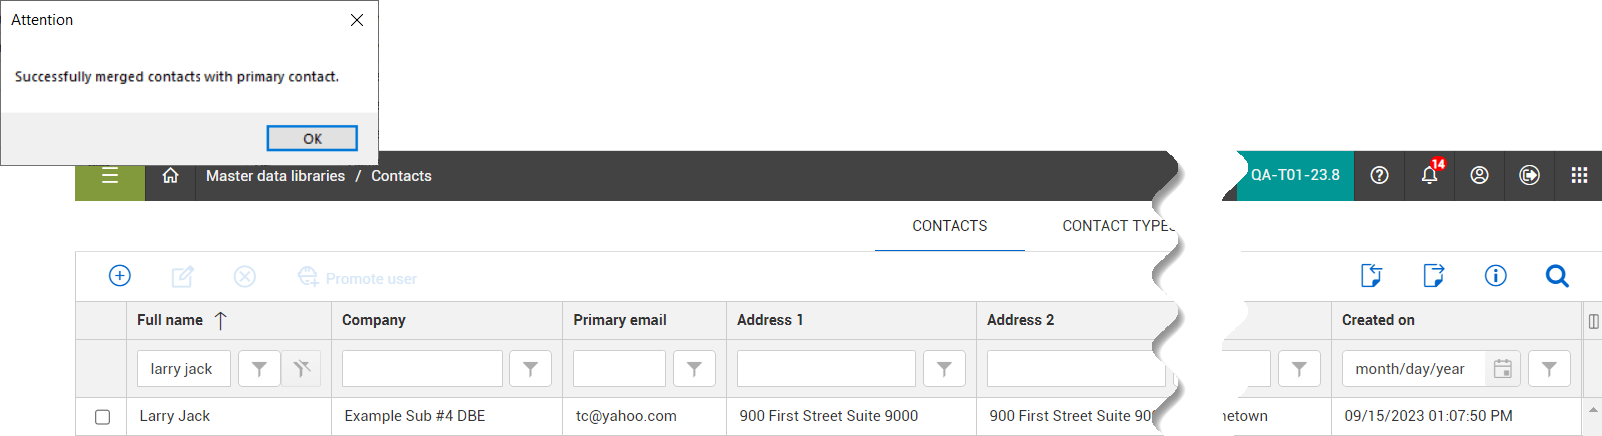
A message shows it was successful, and the entry is created in Platform.
Choose a disconnected contact, and then select Upload Contacts to Platform.
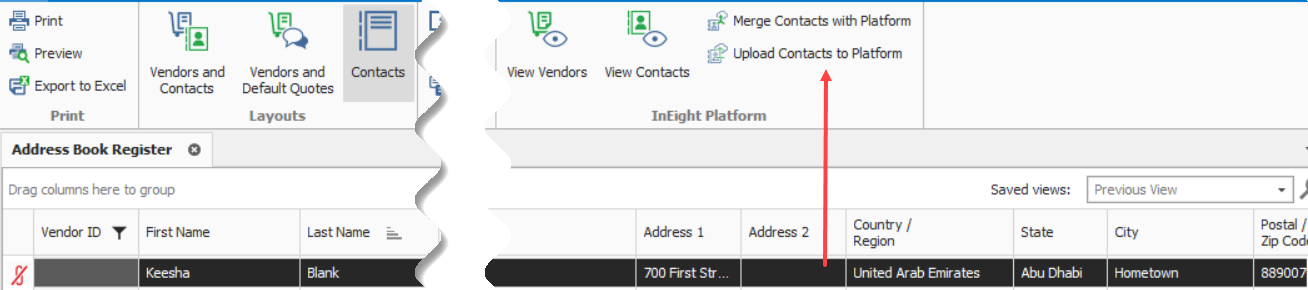
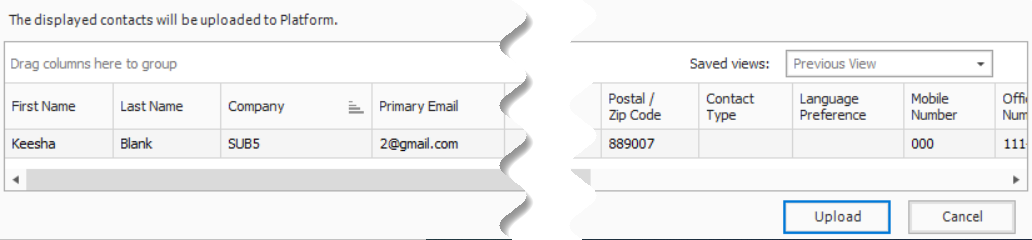
Select Upload to send the contact shown in this window to Platform.
The purpose of the preview dialog is to let you see what will be created in Platform, and to correct any issues before completing the operation.
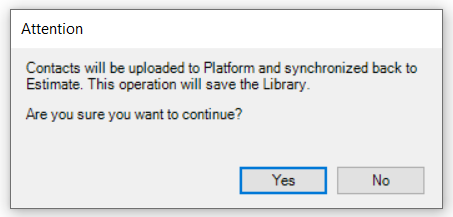
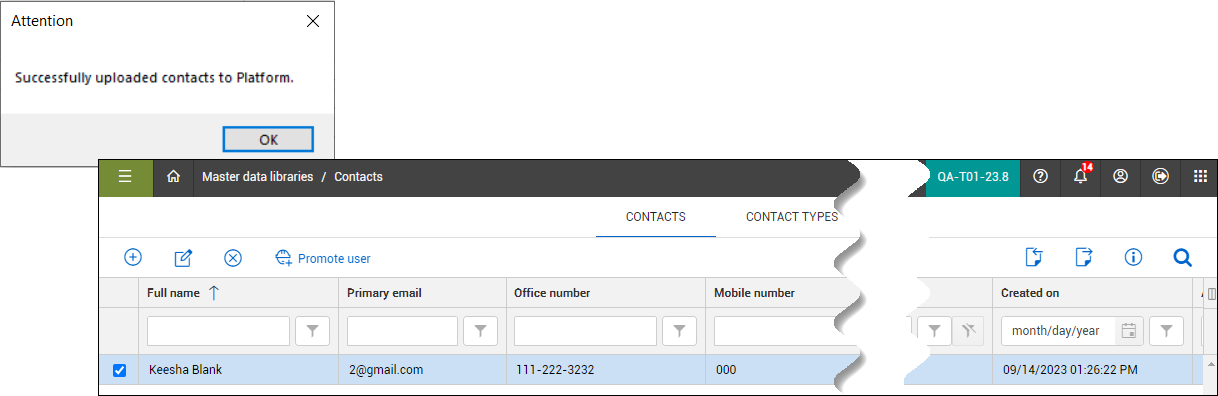
Select Yes in the Attention dialogue box to upload the contact to Platform, synchronize back to Estimate, and save to the library.
A message shows it was successful, and the entry is created in Platform.
Navigate to the Quote register and open an existing quote.

Click the Vendor Quick Add icon in the Quote Record register.

In the Vendor Record - Library window, enter a new Vendor ID and Vendor Name. Under the Vendor Name field, enter in the other non-required information such as the Address and Phone Number.


The new vendor is now added to the Estimate Address Book Register - Library.
The following steps help to confirm that the vendor was created correctly, and that it can be used to update or maintain the vendor after it has already been created, including steps to create a new contact on the fly.
Click the new Vendor ID in the Estimate Address Book Register - Library.

The new vendor opens in Project Suite > Master data libraries > Vendors.

Click the Contact Quick Add icon in the Quote Record register.

In the Contact Record - Library window, enter the First Name, Last Name, Company, and Primary Email. Under the Primary Email field, enter in the other non-required information such as the Address and Phone Number, and then click OK.

The new contact is now added to the Estimate Address Book Register - Library.

Click the new contact Vendor ID in the Estimate Address Book Register - Library.

The vendor opens in Project Suite > Master data libraries > Vendors, and includes the new contact.

Additional Information
9977 N 90th Street, Suite 250 Scottsdale, AZ 85258 | 1-800-637-7496
© 2024 InEight, Inc. All Rights Reserved | Privacy Statement | Terms of Service | Cookie Policy | Do not sell/share my information